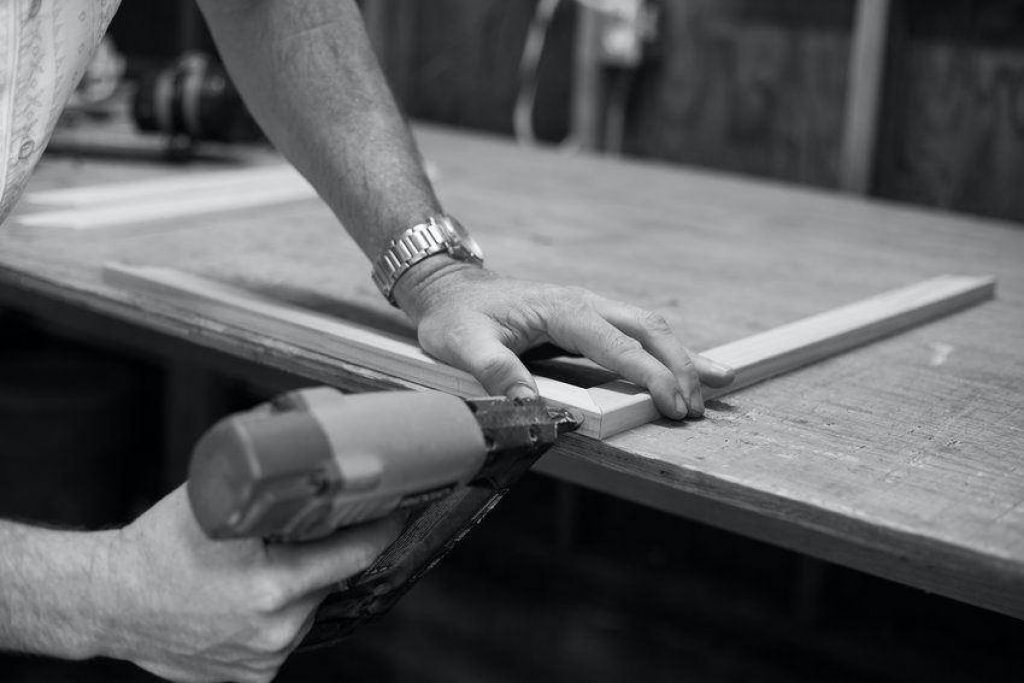
Framing is a fundamental aspect of construction that requires precision, skill, and the right tools. Whether you are a seasoned professional or a DIY enthusiast, having an organized toolkit and a well-structured framing tool belt can significantly enhance your efficiency and effectiveness on the job.
In this ultimate guide, we will explore a complete essential framing tools list. Additionally, we will provide insights on how to set up your framing tool belt for optimal accessibility and convenience, ensuring you have everything you need at your fingertips.
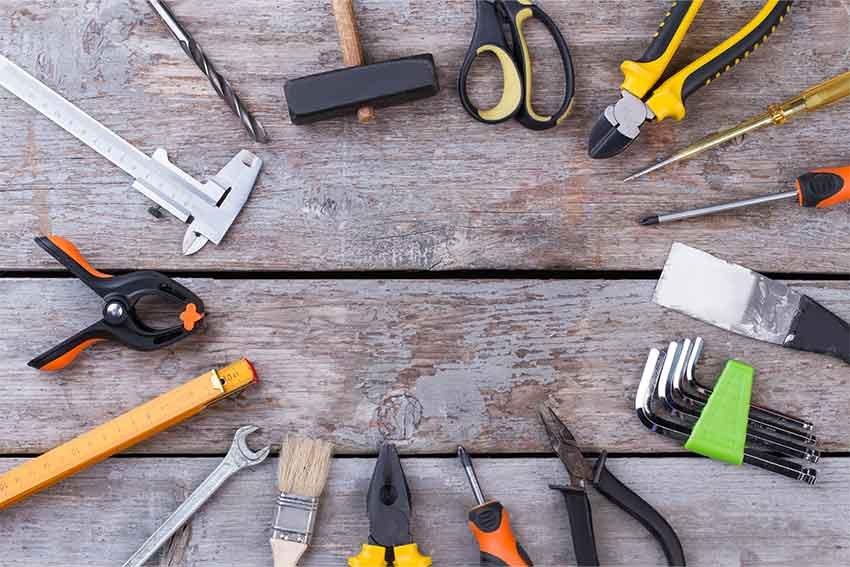
Best Framing Tools List to Be a Pro Framer
Framing tools are essential for achieving professional results in any project. This best framing tools list features must-have items that will enhance your skills, improve efficiency, and ensure precision when framing a tool belt or tackling larger projects.
Overview of Framing Tools List
| Tool Category | Tool Name |
|---|---|
| Hand Tools | Framing Square Tape Measure Utility Knife Hammer Chalk Line Level Speed Square Hand Saw |
| Power Tools | Circular Saw Miter Saw Drill/Driver Nail Gun Impact Driver Reciprocating Saw Laser Level |
| Safety Tools | Hard Hats Safety Glasses Ear Protection Safety Gloves Fall Protection Equipment |
Hand Framing Tools List
Hand tools can work by muscle power without any electrical or external powers. Some of the important hand tools for framers are discussed below.
Framing Hammer
A hammer is an essential tool for framing. There are different shapes, sizes, and weights of framing hammers. Usually, wood or fiberglass handles and titanium or steel-made heads are great constituents of the hammer. The lighter hammers come with 15 ounces approximately and the heavier ones are more than 20 ounces.
You will find hammers having different shapes of handles and heads. Some handle shafts are straight and others have curved handles with dissimilar lengths. In most cases, the lightweight titanium head hammers have a longer handle.
Of lots of hammers, the rip hammer having a straight claw is the most suitable option for framing. The straight claw helps dually remove nails and acts like a crowbar. Modern nail guns replaced the place of hammers mostly, but as a pro framer, you must develop hammer skills.
Get Best Deals on Framing Hammers
Framer Pencils
Line sketching pencil is a must-have tool in the framer carpenter tool list. Before every cut and framing, you need to mark the lumber. Typically, traditional pencils are used in this regard. Now, knife-like mechanical pencils are widely used because they needn’t sharpen. You should take at least two pencils in your tool pouch.
Get Best Deals on Framing Pencils
Framers Tape Measure
Most of us are well-known for framing measuring tape. They come with different lengths and widths of 1/16″ increments. The retractable tape having standard and metric units is preferable. A tape hook is also a considerable factor. We recommend center markings, easy-to-lock, and longer tape that can measure more than 30 ft.
Get Best Deals on Framing Tape Measures
Timber Framing Chisels
Chisels are handy tools used for every framing task. Framers use chisels mainly for finish cuts and rough cuts. Frequently, you will find several chisels in the framer’s and carpenters’ tool belts. We recommend chromium-vanadium alloy steel or high alloy carbon steel-made chisels with a wood handle reinforced by a metal cap.
Timber framing chisels are usually larger in size, so you need to check whether the blade can penetrate properly the wood. You also need the right-width chisels for your purposes. The Japanese timber framing chisels are very favorite models.
Get Best Deals on Timber Framing Chisels
Framing Layout Tools
The timber frame layout tools are handy equipment for increasing accuracy, decreasing layout time, and making the layout process easy and enjoyable. This includes framing speed square, try square, framing square, and a protractor all come with the combo tool.
You needn’t purchase them separately while you own this timber frame layout tool. But if you need any one of them specifically, then it is good to pick that alone.
Get Best Deals on Framing Layout Tools
Hand Saw
This is a must-have tool for dividing the lumbers. There are different forms and sizes of hand saws available. If you are a newbie then fretsaw is pretty good for you.
A tenon saw is a nice selection for the mini-size lover. For cutting timber perpendicularly, crosscut saws give great advantages to users. If you want to cut along the grain then the coarse teeth rip saws will give efficient cutting.
Hand Plane
A hand plane is used for shaping the wood surface. Generally, all the planes make the lumber surface flatten. It is also an important tool for carpenters. Different styles of blades remove chips in dissimilar ways.
You will find electrical planes today. Before using the plane, you need to check the blade’s sharpness, if needed sharpen it with a whetstone.
Utility Knife
Without any explanation, all of us know the importance of having a sharp knife. It can help framers in various ways. It will be handy for cutting ropes, scribing lumbers, making pencils sharp, etc. You should take an ergonomic soft grip and a high-quality chisel blade.
Get Best Deals on Utility Knife
Torpedo Level
This is a small spirit level used to determine whether your jobs are leveled properly or not. Its length varies from 6 to 12 inches usually and is designed for tight spaces. There are many medium and big levels also, but we recommend this for its small size which makes it convenient to carry in the tool pouch.
Get Best Deals on Torpedo Level
Screwdrivers
Framers need different screwdrivers for tightening or loosening screws. The multi-screwdrivers in one box are the common screwdrivers now. They offer 3-in-1, 6-in-1, 9-in-1, even 10-in-1 screwdrivers. These include Flathead, Torx, Star, Philips, and Slot-style screwdrivers.
Get Best Deals on Screwdrivers
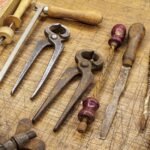
Pliers
It is always the right choice to bring at least one good pair of pliers. They are handy for different situations. Sometimes they might help you pull out nails or staples, even loosening bolts in an interior tight space such as plumbing, ledger board, etc.
Nail Puller
A nail puller, pry bar, or cat’s paws’ basic function is pulling nails. Several other uses of pry bars are loosening rusty screws, separating two wood layers, and even nail driving. The nail puller comprises of flattened end and a curved bar. They are found in different lengths but the larger type will be better for longer nail dragging.
Sharpening Stones
Framers use different cutting tools such as a chisel, knives, planes, and many others. After using them for a while, their edges become dull. So, you need a whetstone to rebuild the edges of the tools. Different grit sizes of stones are found, and you need to pick the right one for your sharpening tasks.
Get Best Deals on Sharpening Stones
Nail Set
A nail set is an important tool for framers to use in different situations. It’s also called nail punch sometimes as this eliminates the mark of the nail from the surface. To use the nail punch, place the narrow end on the nail’s head and then hammer the head of the punch set. Thus the nail will go deep into the wood and makes the surface safe from nail hazard.
Usually, nail sets are used for small nails when you don’t want to see any nail marks on the wood. Nail punch is also helpful when you work in tight spaces. For example, if you’re nailing on the window flange where the hammer won’t be reached. But nail punch will do the job easily.
Keel
Keel is a professional crayon that is mainly used for marking different jobs. It’s wider and longer than the crayon that kids use frequently. The mark of a keel is more visible compared to the pencil mark. Moreover, when you use red, black, or white color the mark will be more visible than that. It’s very affordable. In remodeling projects where the outline is not clearly seen, this may be a handy tool to mark stud location.
Timber Framing Tools List
For basic framing, you can complete the project successfully without any power tools. But, if you are involved with larger framing tasks, then the power tools might be essential for you. Some of them are-
Heavy Duty Drill
The drill is one of the most essential power tools used by the framers. Usually, lots of boring is needed in framing. The hand drill may not support a long time boring, but the electric drill won’t disappoint you. Battery-operated cordless drills are good for smaller amounts of drilling but electric drills are outstanding for abundant boring tasks.
Get Best Deals on Heavy Duty Drills
Circular Saw
Circular saws are another important framing power tool. Hand saws cut straight forward but circular saws can cut both straight and circular routes. If there are lots of teeth in the circular saws, they can cut the jobs smoothly and fewer teeth cut the timber roughly.
Get Best Deals on Circular Saws
Power Planer
The electric planers are used for fast and professional purposes. They save your muscles energy largely. The electric planer’s main task is to smooth the wood surface, but they can successfully level the rough end grain. A knob on the top adjusts the depth of the cut by adjusting the front planer with the blade.
Get Best Deals on Power Planers
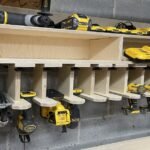
Framing Nailer
A framing nailer or nail gun is used to pin nails efficiently. There are two types of framing nail guns- round heads and clipped heads. The clipped nailers are used for high-volume nailing purposes, on the other hand, the round nailers can hold fewer nails.
Get Best Deals on Framing Nailers
Wall Framing Tools List
Building a wooden wall is a relatively easy task. Wall framing consists of three distinct steps: measuring the timber, cutting the timber, and nailing it for assembly. To make a lumber wall successfully, you need versatile tools. This wall framing tools list makes your jobs easier. These tools include:
Framing Square
The framing square is a crucial tool for layout work, allowing you to create precise right angles and check the squareness of your framing. Its large, flat surface makes it easy to mark straight lines on lumber. This tool is indispensable for ensuring that your walls are constructed accurately.
Tape Measure
A tape measure is essential for measuring lengths and distances accurately, ensuring that all your cuts are precise. It typically features both imperial and metric measurements, making it versatile for various projects. A good quality tape measure can extend up to 25 feet or more, providing ample reach for most framing tasks.
Screwdrivers
Screwdrivers are important in the wall framing tools list. Both flat-head and Phillips screwdrivers are necessary for various fastening tasks in wall framing. They allow you to drive screws into wood or other materials securely. A set of screwdrivers in different sizes will ensure you can tackle any fastening job that arises.
Speed Square
A speed square is a triangular tool that helps mark angles and check squareness in framing projects. It is particularly useful for making quick cuts and layouts for rafters and roof pitches. Its compact size makes it easy to carry and use on the job site.
Hand Saw
A hand saw is ideal for making precise cuts in wood, especially in tight spaces where power tools may not fit. It offers greater control for detailed cuts and is often used for smaller framing tasks. A quality hand saw can be a reliable backup when power tools are unavailable.
Fast Framing Tools List
The fast framer tool is a reusable framing assistant tool that comes with all reusable tools. This helps to make the wall proficiently like an expert carpenter. It provides users with five skills that carpenters have. DIYers face challenges when doing the square frame but the T-shaped fast frame tool will help them to do that easily. The fast framing tools list include:
Circular Saw
A circular saw is a powerful tool in the fast framing tools list. It is used for cutting framing lumber and sheathing quickly and accurately. It features a rotating blade that can make straight cuts through thick materials. This tool is essential for any framing project, significantly speeding up the cutting process.
Drill/Driver
A drill/driver is essential for drilling holes and driving screws into framing materials. It can handle a variety of drill bits and attachments, making it versatile for different tasks. A cordless model offers mobility and convenience, allowing you to work efficiently on-site.
Nail Gun
A nail gun dramatically speeds up the process of fastening framing members together compared to manual nailing. It uses compressed air or electricity to drive nails quickly and accurately. This tool is a game-changer for productivity, especially in large framing projects.
Reciprocating Saw (Sawzall)
A reciprocating saw is handy for demolition and cutting in tight spaces, making it ideal for framing projects that require adjustments. Its versatile blade options allow for cutting through wood, metal, and other materials. This tool is invaluable for quick cuts and modifications.
Safety Framing Tools List
Similar to other professional workers, framers need some protective equipment. Mostly used framer’s safety tools are earplugs or muffs, dust masks, face shields, safety glasses or sunglasses, steel toe shoes, hard hats, gloves, safety harnesses, etc. Never deny these tools, they will protect you from severe accidents and illnesses. This safety framing tools list include:
Hard Hats
Hard hats are crucial for protecting the head from falling objects, debris, and potential impacts on construction sites. It is a must-have tool in the safety framing tools list. They are designed to absorb shock and reduce the risk of serious head injuries, making them a mandatory piece of personal protective equipment (PPE).
Safety Glasses
Safety glasses provide vital eye protection against flying particles, dust, and hazardous materials commonly found in framing environments. They help prevent eye injuries, which can lead to long-term vision problems, ensuring that workers can see clearly and safely while on the job.
Ear Protection
Ear protection, such as earmuffs or earplugs, is essential in noisy construction environments to prevent hearing loss. Prolonged exposure to loud noises from power tools and machinery can lead to irreversible damage, making it important to use appropriate hearing protection.
Safety Gloves
Safety gloves protect the hands from cuts, abrasions, and chemical exposure while handling materials and tools. They enhance grip and dexterity, allowing workers to handle framing components safely and effectively without risking injury.
Fall Protection Equipment
Fall protection equipment, including harnesses and safety nets, is vital when working at heights to prevent falls, which are a leading cause of injuries in construction. This equipment ensures that workers are securely tethered and protected from potential falls while performing tasks on elevated surfaces.
5 Simple Steps for Framing Tool Belts Setup
A well-organized tool belt provides an efficient, fast, and safe working experience. Here are the basics of the framing tool belts setup.
Step 1: Take the Right Tool Belt for Framers
From the lots of tool belts and bags, you need to choose the framer’s set with plenty of tool storing capacity. Framing tool belts have commonly two pouches with several larger fastener pockets, slots, and tool holders.
An important considerable thing is to buy the exact framer tool belt. Framers have to build the skeleton of a building. They often climb up and down or slide between studs and pull materials up. So, every time the mass center of the tool belt set will change, you need to consider this. Therefore you need to Learn How To Use A Tool Belt Safely And Efficiently?
Putting on bags on the side and hammers and large tools on the back they can work with a full range of motion. It is also necessary to keep your hands free as they need frequent climbing and retreat tools. Your chosen model should come with the framers’ choice.
Most of them have dedicated pockets for hammers, rafter squares, knives, tape measure, pencils, etc. Sometimes you need a suspenders tool belt for carrying lots of tools.
Step 2: Keep the Main Tools at a Dominant Hand
The most important tools should be kept on your first-hand side so that you can access them for instant use. This will optimize your work greatly. If you are a right-hand man, then you may favor keeping the most used tools on your right side. Some of the most needed tools for framers are pencils, chalk lines, utility knives, torpedo levels, etc.
Step 3: Auxiliary Tools at Secondary Hand
Later on, your job is to organize the other tools that you need occasionally. A few auxiliary tools are measuring tape, nailset, drill bits, level, chisels, speed square, etc. You will find a devoted tape pocket there. Some framers also like to keep the tape on the first side. Most of the framers’ pouches have a dedicated rafter square pocket.
Step 4: Hammer and Large Tools on Devoted Holders
In almost all the framing tool belts, there are single or double hammer holders and large tool-holding slots. These holders are metal-made and reinforced durably with the belt and bags. Usually, there is a hammer holder in the middle of the belt. Several belts have more hammer holders with pouches. You can store drills, bevel squares, pliers, and such large tools in the other holders.
Sometimes you need to carry larger tools, in this case, you can add D-rings with the belt and hang the tools there with a lanyard. It is also necessary to install suspenders for carrying more weight.
Step 5: Suspenders Tools Decoration
If you use suspenders, you will see there are small slots in the suspenders. You can store nails, pencils, markers, drill bits, and keys there. Some of them have cell phone holders also to secure your smartphones.
After completing the organizing or setting up properly, it’s your turn to wear the tool belt. You can learn it from our dedicated tool belt-wearing discussion.
Final Words
May be framing is the most athletic type of carpentry. Toolbelt setup and organizing tool belts largely impact the framer’s efficiency. Truly, it is not very tough to organize framing tool belts, but you need to learn the process first. The tool selection is also an important factor behind this.
In the above, we have made the framing tools list for your easiness. Also, we tried to educate you on the framing tool belts setup in a simple way. Hopefully, these guidelines will help you a lot to organize tools like a pro framer.
FAQs (Frequently Asked Questions)
Can I Carry Hand Planers in the Tool Belt?
This tool is heavy enough, so it is not a wise decision to carry your muscle-powered plane in the tool belt. But you can take the blades of planers in the tool pouch, even the small-sized planers can be taken with a tool belt with lanyards.
How Do Professional Framers Choose Their Tools?
Professional framers choose their tools based on durability, precision, and the specific demands of their projects. They often prioritize high-quality, professional-grade tools that can withstand frequent use and deliver consistent results.